Create Android modules for Titanium SDK
If there is a UI element that is not available in Titanium by default or you want to use a custom Android library in your app it is easy to create custom Java modules to use in your app. You can look at the official documentation for detailed information and follow this tutorial to create a Android module using an existing library. It is not a Android/Java/Kotlin tutorial so you will need to have some basic knowledge to implement the Java part.
I will show you how to include an external library using gradle, add custom "non" Titanium views with XML files, add methods to interact with the UI elements and add it to your Titanium app.
We will use the circular-progress-button in this example:
Create the module
To create a new module we can run
ti createand select "module", "Android" (or all) for the platform, give it a name (here ti.cpb), an app id (same ti.cpb), use java and the current folder:
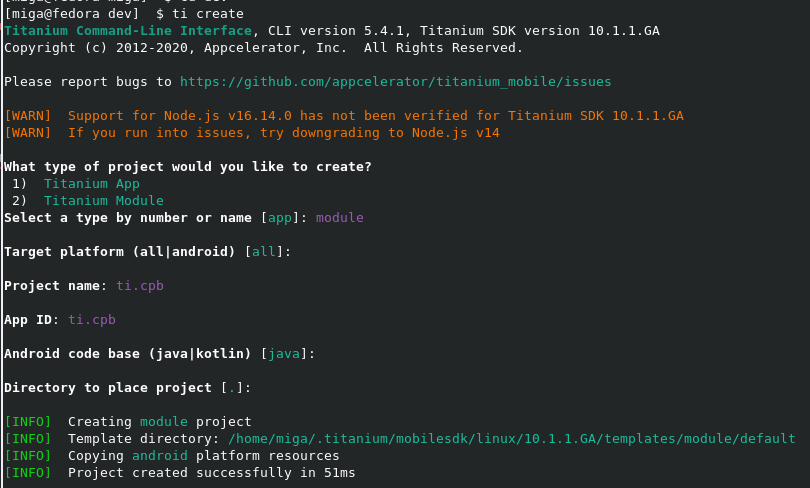
A new empty module project is created by the SDK with a default structure:
root folder with README, Licence and documentation folder and a folder for the Android and iOS part (if you selected all while creating it).
We switch into the android folder: cd ti.cpb/android/ and run a first ti build -p android -b command to compile the module. If it is your first Titanium module it will check and install needed tools so it might take a while.
At the end it should print
...
[INFO]  Packaging the module
[INFO]  Creating module zip
[INFO]  Writing module zip: /ti.cpb/android/dist/ti.cpb-android-1.0.0.zip
[INFO]  Project built successfully in 35s 172ms
and you have your first ZIP version of your module inside the dist folder. This is the place where you will find compiled module at the end and you copy that into your apps folder.
Include the external module
Since the build process uses gradle it is very easy to include external modules. When you look at the github page of the library you will find instructions what you'll need to do:
https://github.com/dmytrodanylyk/circular-progress-button#integration
First we open build.gradle and add those parts
repositories {
  maven { url 'https://jitpack.io' }
}

dependencies {
  implementation 'com.github.dmytrodanylyk:circular-progress-button:1.2'
}
then a quick build ti build -p android -b to check if everything is working.
Android Studio
Once you've built the app you can open the build/ folder with Android Studio and can use auto-completion, syntax checks and all other goodies from Android Studio to create your module.
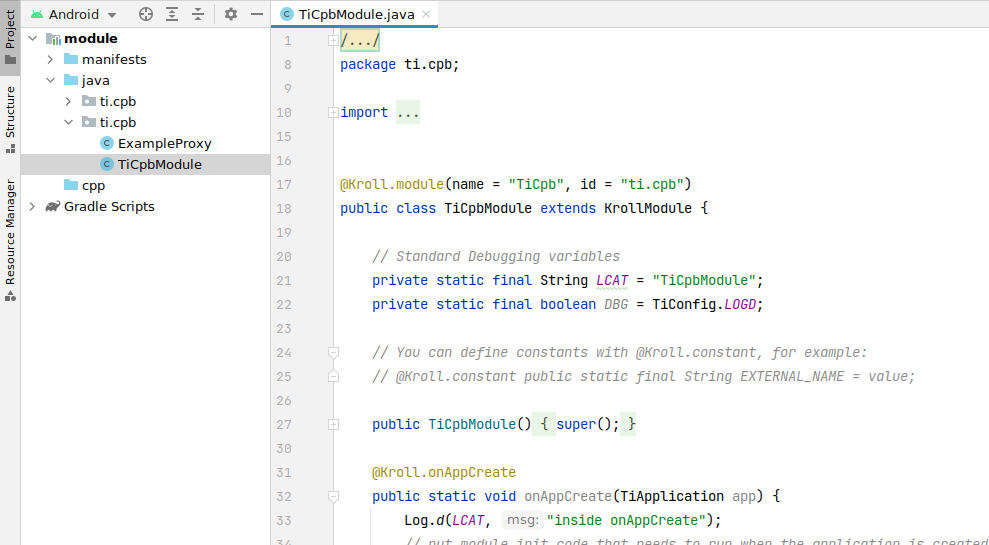
You see two files ExampleProxy and TiCpbModule in your java folder. A full description about the naming of the files is available here: https://titaniumsdk.com/guide/Titanium_SDK/Titanium_SDK_How-tos/Extending_Titanium_Mobile/Android_Module_Development_Guide/Android_Module_Architecture.html
The *Module file is the start file of your module. When you later run var myModule = require(my.module) in your Titanium app it will run code from that file. So myModule.example() will call the public String example() method in your *Module file and return hello world in the default project.
The *Proxy file contains a view that you can attach to your Titanium project (Alloy or code) and its the bridge between a Titanium view and a custom/native view. In the example you would create it like this var myView = myModule.createExample({}) or <Example module="ti.cpb"/> in Alloy.
More on this later as we add our custom code.
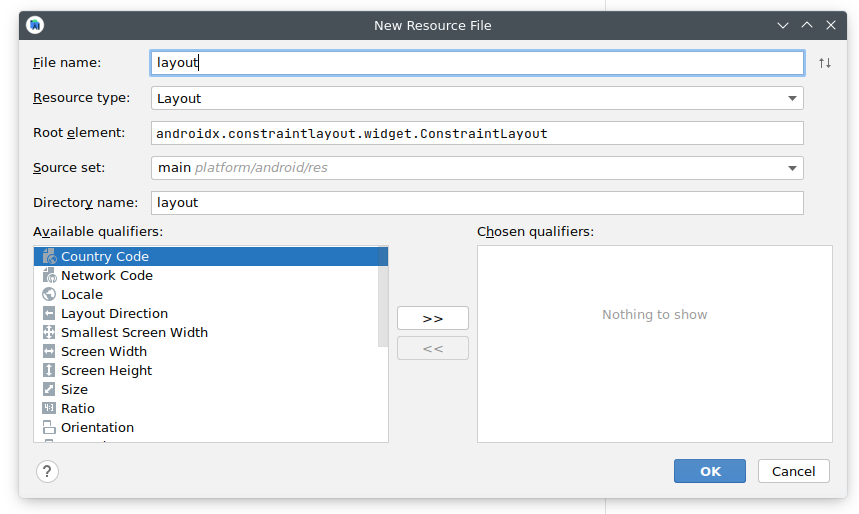
Create a layout file
File - New - Android Resource File:
<?xml version="1.0" encoding="utf-8"?>
<LinearLayout xmlns:android="http://schemas.android.com/apk/res/android"
    android:layout_width="match_parent"
    android:layout_height="match_parent">

    <com.dd.CircularProgressButton
        android:id="@+id/btnWithText"
        app:cpb_textComplete="Complete"
        app:cpb_textError="Error"
        app:cpb_textIdle="Upload"
        android:layout_width="196dp"
        android:layout_height="64dp"
        android:layout_marginTop="16dp"
        android:textColor="#fff"
        android:textSize="18sp" />

</LinearLayout>
Use they layout in code
Inside Titanium we can only use views that Titanium knows - so a TiUiView. Since we have a custom view here we need to put it into a TiUiView and pass that to Titanium. This is what private class ExampleView extends TiUIView {} is used for. By default it is included in the ExampleProxy file but you can also move it in its own file called ExampleView. To keep it simple we leave it there for now. Also: don't mind the name Example, you can rename it but we leave that too.
The current code will just create an empty view:
private class ExampleView extends TiUIView
{
  public ExampleView(TiViewProxy proxy) {
    super(proxy);
    LayoutArrangement arrangement = LayoutArrangement.DEFAULT;

    if (proxy.hasProperty(TiC.PROPERTY_LAYOUT)) {
      String layoutProperty = TiConvert.toString(proxy.getProperty(TiC.PROPERTY_LAYOUT));
      if (layoutProperty.equals(TiC.LAYOUT_HORIZONTAL)) {
        arrangement = LayoutArrangement.HORIZONTAL;
      } else if (layoutProperty.equals(TiC.LAYOUT_VERTICAL)) {
        arrangement = LayoutArrangement.VERTICAL;
      }
    }
    setNativeView(new TiCompositeLayout(proxy.getActivity(), arrangement));
  }

  @Override
  public void processProperties(KrollDict d)
  {
    super.processProperties(d);
  }
}
we remove all the code from the constructor and start to get our XML layout:
public ExampleView(TiViewProxy proxy) {
  super(proxy);

  // setNativeView();
}
The first part is to get the layout from our layout.xml file and attach that to our view.
public ExampleView(TiViewProxy proxy) {
    super(proxy);

    // get the package name
    String pkgName = proxy.getActivity().getPackageName();
    // resources
    Resources res = proxy.getActivity().getResources();

    // find the layout file and get the layout
    int resId_viewHolder = res.getIdentifier("layout", "layout", pkgName);
    LayoutInflater inflater = LayoutInflater.from(proxy.getActivity());
    View viewWrapper = inflater.inflate(resId_viewHolder, null);

    // attach the view
    setNativeView(viewWrapper);
}
If we would use it in a Titanium app we would already see the CircularProgressButton:

but we can't do anything with it. In order to do that we need to access the actual CircularProgressButton from our XML file and connect it to methods/properties so we can call them from Titanium.
Create a global variable
CircularProgressButton cpb;and inside the ExampleView constructor we add:
int resId_view = res.getIdentifier("btnWithText", "id", pkgName);
cpb = viewWrapper.findViewById(resId_view);
so the final code looks like this:
public ExampleView(TiViewProxy proxy) {
    super(proxy);

    String pkgName = proxy.getActivity().getPackageName();
    Resources res = proxy.getActivity().getResources();

    int resId_viewHolder = res.getIdentifier("layout", "layout", pkgName);
    LayoutInflater inflater = LayoutInflater.from(proxy.getActivity());
    View viewWrapper = inflater.inflate(resId_viewHolder, null);

    // find the button and assing it to a variable
    int resId_view = res.getIdentifier("btnWithText", "id", pkgName);
    cpb = viewWrapper.findViewById(resId_view);

    setNativeView(viewWrapper);
}
Build the module with ti build -p android -b and you'll find a ZIP inside the dist folder.
Test the module
Now is the time to create a new Titanium app and add the module to test it.
Copy the zip file into the root of your app project folder and add
<modules>
  <module>ti.cpb</module>
</modules>
into tiapp.xml.
Add our new view in the index.xml
<Alloy>
    <Window>
        <Example id="btn" module="ti.cpb"/>
    </Window>
</Alloy>
and a simple
$.index.open();in the index.js to open the Window.
Building the app you can see the default button:
We go back to Android Studio and add some more functionality.
Methods / Properties
Available soon!