Appwrite + Titanium SDK: A step by step guide
In this tutorial we setup an Appwrite docker instance and create a simple Titanium app and connect it to Appwrite - step by step! We will create a user login and upload/retrieve some data.
Appwrite installation
Docker setup
Appwrite is a self-hosted docker and can be installed with
docker run -it --rm \
    --volume /var/run/docker.sock:/var/run/docker.sock \
    --volume "$(pwd)"/appwrite:/usr/src/code/appwrite:rw \
    --entrypoint="install" \
    appwrite/appwrite:0.10.4
If you have a folder not found error you'll need to create an /appwrite folder.
For more information visit https://appwrite.io/docs.
Appwrite Dashboard
When the docker image is running you can open the URL in your browser and will see the first Appwrite screen:
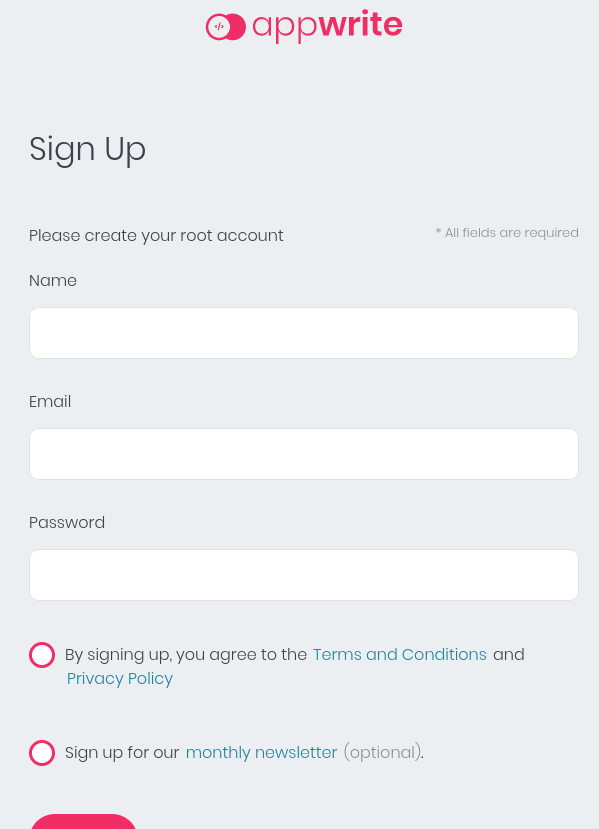
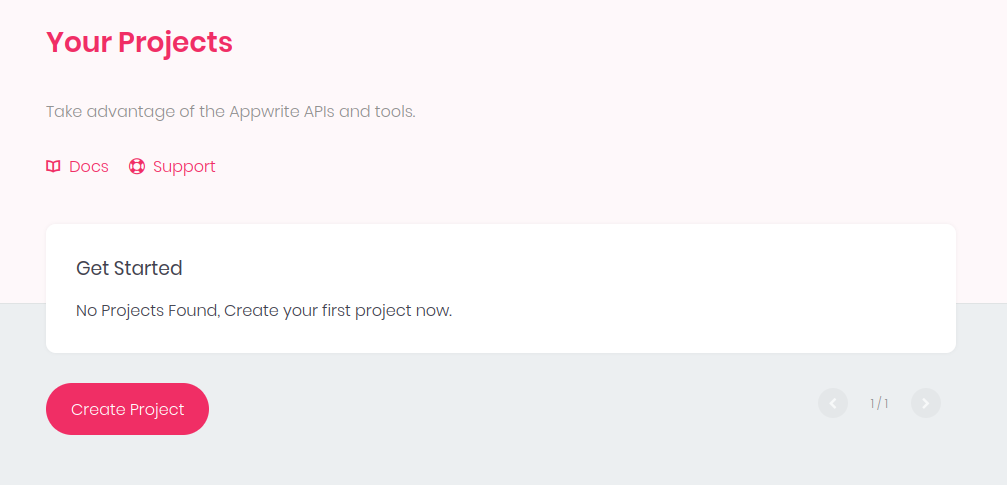
Create an account and a project in the following screen:
and you will be transferred to the project dashboard:
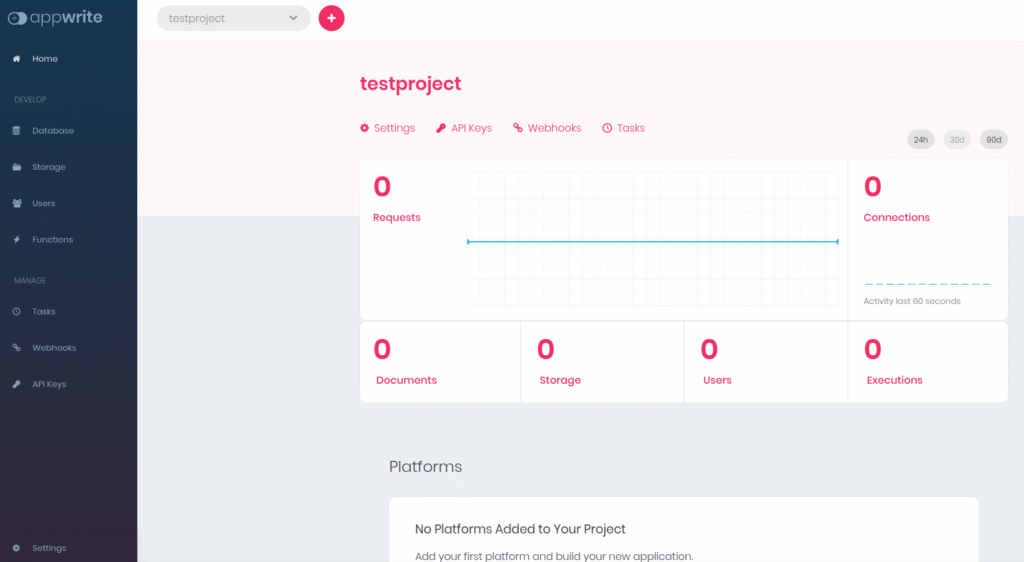
This is the main view where we will manage all our data that is coming from the app.
In order to connect our apps we will need the project ID and the API url. To do that we click on Settings (below the project name) and you will find the Project ID and API Endpoint on the right side:
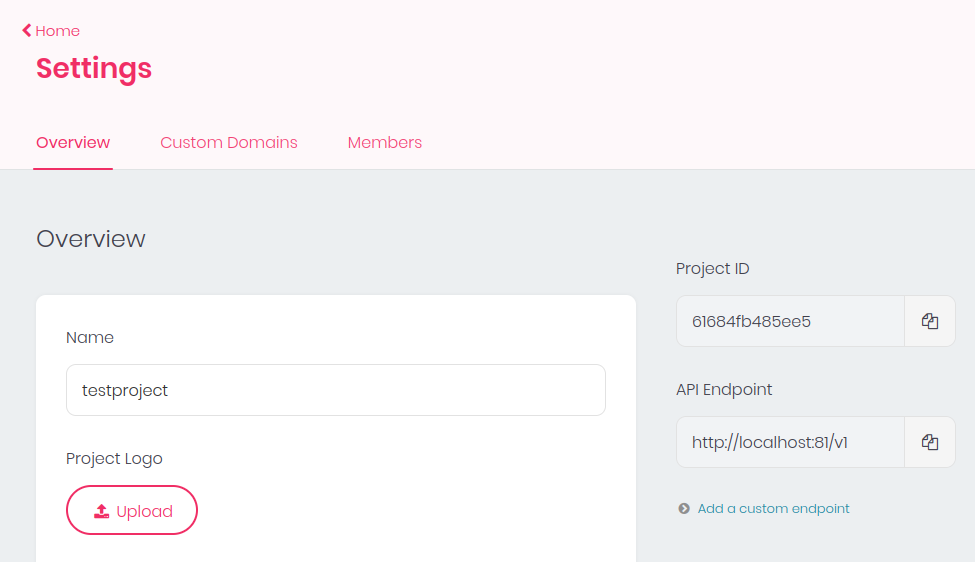
Copy those values as we will need them in the app later on.
One last thing we will need to do is: add a platform.
Go to the dashboard home screen again and scroll down to Add platform and select Android.
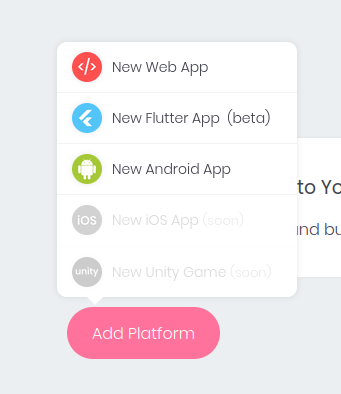
Add your app name (e.g. appwrite_demo) and package name (e.g. com.user.appwritedemo) and click register.
Now we can start to write the app!
Titanium App
If you are new to Titanium have a look at the tutorials at https://fromzerotoapp.com
Create the app
Run the following commands and create a new app:
ti createset the appname and app id to the values you've added in the platform settings above (e.g. appwrite_demo and com.user.appwritedemo). Then go into you app folder and create an alloy project:
cd appwrite_demo/
alloy new
and open Atom/VSCode inside the folder.
Add the Titanium Appwrite module
Goto https://github.com/m1ga/ti.appwrite and download the module. Place the ZIP file in your app root folder and add this to your tiapp.xml:
<modules>
    <module>ti.appwrite</module>
</modules>
When you build your app now with ti build -p android it will extract the module and you can use it now.
One other element we will need to add is this code:
<application>
    <activity android:name="io.appwrite.views.CallbackActivity" android:exported="true">
        <intent-filter android:label="android_web_auth">
            <action android:name="android.intent.action.VIEW"/>
            <category android:name="android.intent.category.DEFAULT"/>
            <category android:name="android.intent.category.BROWSABLE"/>
            <data android:scheme="appwrite-callback-[PROJECT_ID]"/>
        </intent-filter>
    </activity>
</application>
Make sure to change [PROJECT_ID] to your ID.
Connect to the Appwrite server
The first step is the server connection. Add this into index.js:
const appwrite = require("ti.appwrite");
const SERVER_URL = "http://192.168.0.59:81/v1"
const PROJECT_ID = "61684fb485ee5";

appwrite.create({
    endpoint: SERVER_URL,
    project: PROJECT_ID,
    selfSigned: true,
});
and change the SERVER_URL and PROJECT_ID to the values you have copied from the project settings page before. Keep in mind that you have to use the IP if you test on an external Android device!
When everything is correct you will see connected: http://192.168.0.59:81/v1 in your output log and we can continue with the user login.
User login
We create a simple login screen in the index view:
index.xml
<Alloy>
    <Window>
        <View id="view_login">
      <TextField hintText="Username" id="tf_username"/>
            <TextField hintText="Password" id="tf_password"/>
            <Button title="Create" onClick="onClickCreate"/>
            <Button title="Login" onClick="onClickLogin"/>
        </View>
    </Window>
</Alloy>
index.tss
"#view_login" : {
    layout: "vertical",
    width: Ti.UI.SIZE,
    height: Ti.UI.SIZE
}
"TextField" : {
    borderStyle: Ti.UI.INPUT_BORDERSTYLE_ROUNDED,
    hintType: Ti.UI.HINT_TYPE_ANIMATED,
    width: 300
}
"#tf_password": {
    passwordMask: true
}
"#tf_username": {
    keyboardType: Ti.UI.KEYBOARD_TYPE_EMAIL
}
app.tss
'Window' : {
  backgroundColor: '#fff'
}
"Label" : {
  width: Ti.UI.SIZE,
  height: Ti.UI.SIZE,
  color: "#000",
  touchEnabled: false
}
index.js
const appwrite = require("ti.appwrite");
const SERVER_URL = "http://192.168.0.59:81/v1"
const PROJECT_ID = "61684fb485ee5";
appwrite.create({
endpoint: SERVER_URL,
project: PROJECT_ID,
selfSigned: true,
});
appwrite.addEventListener("account", accountEvent);
function accountEvent(e) {
console.log(JSON.stringify(e));
}
appwrite.addEventListener("error", function(e) {
console.log(JSON.stringify(e));
})
$.index.open();
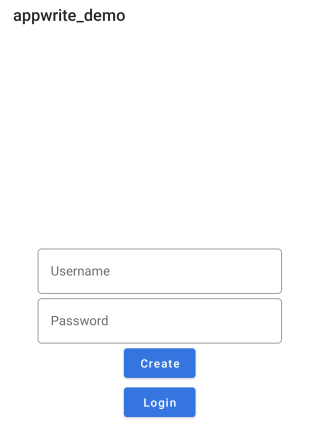
function onClickCreate(e) {}
function onClickLogin(e) {}It will look like this:
The following code is used to create an user account:
function onClickCreate(e) {
appwrite.createAccount({
email: $.tf_username.value,
password: $.tf_password.value
});
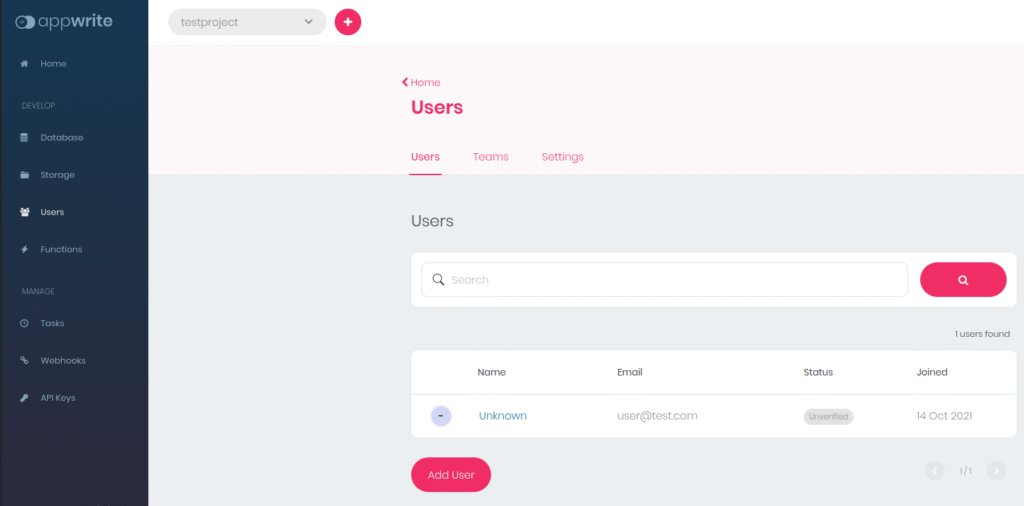
}A click on Create will create a user and the account event will print user details to the console. When you look at the Appwrite dashboard - User section you can see the new user in there too:
Now that we have a user we can add the login method:
function onClickLogin(e) {
    appwrite.createSession({
        email: $.tf_username.value,
        password: $.tf_password.value
    });
}
and extend the account event to:
function accountEvent(e) {
    console.log(JSON.stringify(e));
    if (e.session_id) {
        console.log("session id", e.session_id);
    }
}
That allows us to login and if you see a session id in your log it was successful.
Once we've made a login we can call appwrite.getAccount(); next time and check the account event result if the session is still valid or if we receive an error event.
A valid session will return e.g.
{
  "type": "account",
  "passwordUpdate": 1634230793,
  "emailVerification": false,
  "name": "",
  "action": "getAccount",
  "registration": 1634230793,
  "id": "616862096c70b",
  "email": "user@test.com",
  "status": 0,
  "prefs": "{}",
}
and invalid or deleted session will return this error:
{
  "type": "error",
  "action": "get account",
  "code": 401,
  "message": "User (role: guest) missing scope (account)",
  "response": "{\"message\":\"User (role: guest) missing scope (account)\",\"code\":401,\"version\":\"0.10.4\"}",
  "bubbles": false,
  "cancelBubble": false
}
With this information we can call a different window when either action: "getAccount" or action: "login" is returned by the account event.
Share files
Create a second controller inside your editor called filelist

which will be used to display files and upload a file to the server.
As said before we need to add one thing to our index.js so it will open the new window. Extend your account event to look like this:
function accountEvent(e) {
    console.log(JSON.stringify(e));
    if (e.session_id) {
        console.log("session id", e.session_id);
    }

    if (e.action == "getAccount" || e.action == "login") {
        // remove this event here
        appwrite.removeEventListener("account", accountEvent);

        // open second window
        var win = Alloy.createController("/filelist").getView();
        win.open();
    }
}
As soon as we have one of the correct events it will create and open the filelist controller.
To keep it simple we add a simple ScrollView and a Button to the filelist controller like this:
filelist.xml
<Alloy>
    <Window onOpen="onOpen">
        <ScrollView id="scroller" />
        <Button id="btn" title="upload" onClick="onClickUpload"/>
    </Window>
</Alloy>
filelist.tss
"#scroller" : {
  height: Ti.UI.FILL,
  width: Ti.UI.FILL,
  contentHeight: Ti.UI.SIZE,
  contentWidth: Ti.UI.FILL,
  layout:"horizontal"
}
"#btn" : {
  bottom: 5
}
filelist.js
// appwrite object
var appwrite = require("ti.appwrite");

// appwrite events
appwrite.addEventListener("account", function(e) {
    console.log(JSON.stringify(e));
})
appwrite.addEventListener("error", function(e) {
    console.log(JSON.stringify(e));
})

function onClickUpload(e){}
function onOpen(e) {
    appwrite.getAccount();
}
When you will start your app it will open the second window now and we can add the file upload.
Our beautiful new empty window:

Upload files
Inside this tutorial we will going to upload the appicon to our appwrite instance. This file is located in the assets/android rsource folder and we have to copy it to the applicationDataDirectory folder so the module can access it. To do this add the following code into the onClickUpload method:
function onClickUpload(e) {
    // get the icon
    var file = Ti.Filesystem.getFile(Ti.Filesystem.applicationDataDirectory, "appicon.png");

    if (!file.exists()) {
        // copy it from /assets/ to the external storage
        var source = Ti.Filesystem.getFile(Ti.Filesystem.resourcesDirectory, "appicon.png");
        file.write(source.read());
    }
}
Now we can take that file and send it to our server:
function onClickUpload(e) {
// get the icon
var file = Ti.Filesystem.getFile(Ti.Filesystem.applicationDataDirectory, "appicon.png");
if (!file.exists()) {
// copy it from /assets/ to the external storage
var source = Ti.Filesystem.getFile(Ti.Filesystem.resourcesDirectory, "appicon.png");
file.write(source.read());
}
// upload file if exists
if (file.exists()) {
appwrite.createFile({
file: file,
read: ["*"],
write: ["*"]
});
}
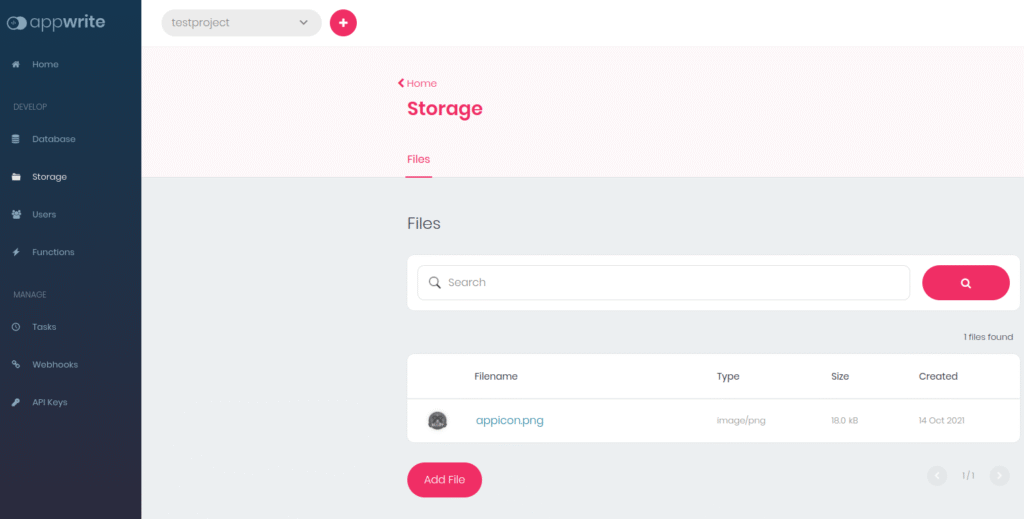
}Clicking the button will upload the icon. To check if is working you can add the storage event and also check the Appwrite storage page:
appwrite.addEventListener("storage", function(e) {
    console.log(JSON.stringify(e));
})
Get files
To check all server files we call appwrite.listFiles(); inside the open event:
function onOpen(e) {
    appwrite.getAccount();
  appwrite.listFiles();
}
and inside the storage event you will get a list of all files:
{
  "type": "storage",
  "action": "list files",
  "files": [{
    "name": "appicon.png",
    "id": "616886dfb94b1",
    "dateCreated": 1634240223,
    "mimeType": "image/png",
    "signature": "bc6801521a45d0aaec630e5a11c487fd",
    "permissions": ""
  }]
}
The last step is to download and show the images again. Todo this we parse the files list and start a file download. The storage event will receive a blob that we can put into an ImageView and add it into the ScrollView:
appwrite.addEventListener("storage", function(e) {
// download and it contains a blob
if (e.action == "downloadFile" && e.blob) {
// create an ImageView
var img = Ti.UI.createImageView({
width: 100,
height: 100,
image: e.blob // add the blob
});
// add it to the ScrollView
$.scroller.add(img);
} else if (e.action == "createFile") {
// file was uploaded - clear list and add all files
$.scroller.removeAllChildren();
appwrite.listFiles();
} else {
console.log(JSON.stringify(e));
// we have some files
if (e.files && e.files.length > 0) {
// parse all files
_.each(e.files, function(file) {
// download a file
appwrite.downloadFile(file.id);
})
}
}
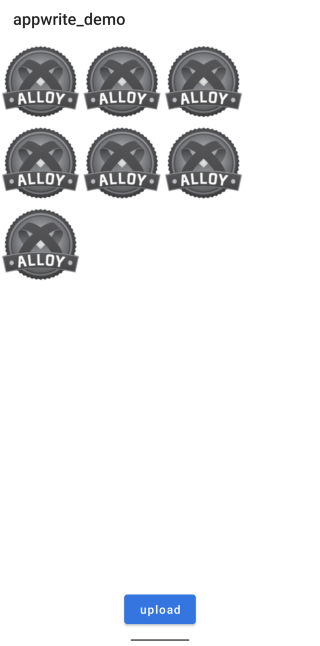
})Clicking upload multiple times will result in:
Optimizations
This app demonstrates a basic usage of Titanium and the Appwrite module. There are many things that can be optimized for a better UX and API flow. For example we didn't check the user session and close the 2nd window if there is no session. Also we didn't look at the error event and handle those.
There are other API calls to logout a user or delete files and so on. A full example can be seen at https://github.com/m1ga/ti.appwrite