Android adaptive icons
Starting with Android 8 (API 26) Google introduced the concept of Adaptive Icons which can display a variety of shapes across different device models. The main icon (foreground) is separated from the background (image, color, xml) and a mask is applied on top of the image.
If you create a new app and add an Android icon it will look like this with the default setup:
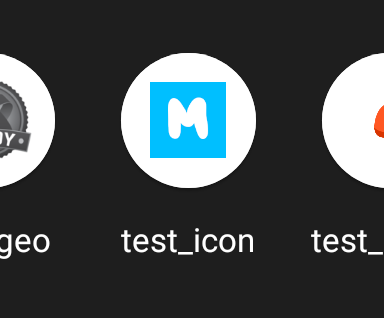
the blue background is not filling up the whole space and the icon is a bit small. In this tutorial we will create an Adaptive Icon that will blend in with your other apps.
Setup
The best and easiest way to do this is to use Android Studio. If you don't have it installed you can go to https://developer.android.com/studio and download it for free.
If your icon has just a plain color in the background you can create a transparent version of the foreground element and save that.

If your background is a gradient or contains multiple colors you save that as a different file.
IconKitchen
Another way is to use an online icon generator like https://icon.kitchen/ - upload your icon and download the ZIP file. It has all the needed files and you extract it into your app/platform folder. The only thing you'll need to change is your tiapp.xml: <application android:icon="@mipmap/ic_launcher" />
Create the icon
- Open up Android Studio and create a new project:
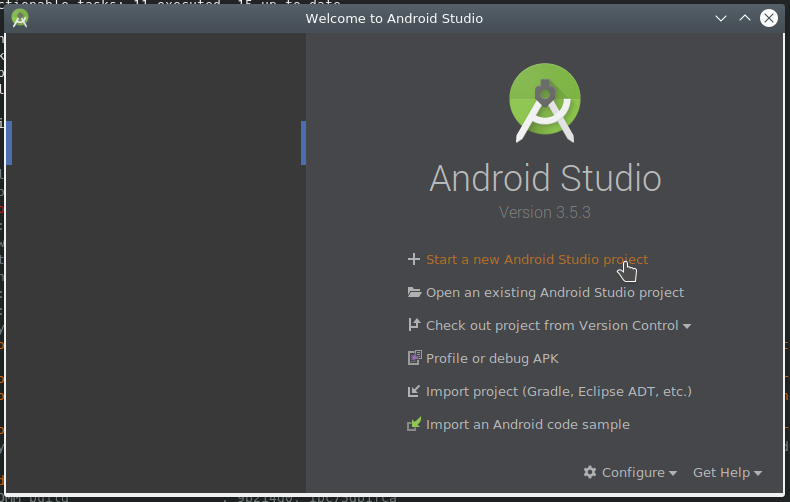
Select an empty activity and just click next to create the project. We will just use the Asset Studio for the icon - the rest of project is not needed.
- Right click on
appand selectNew - Image Asset:
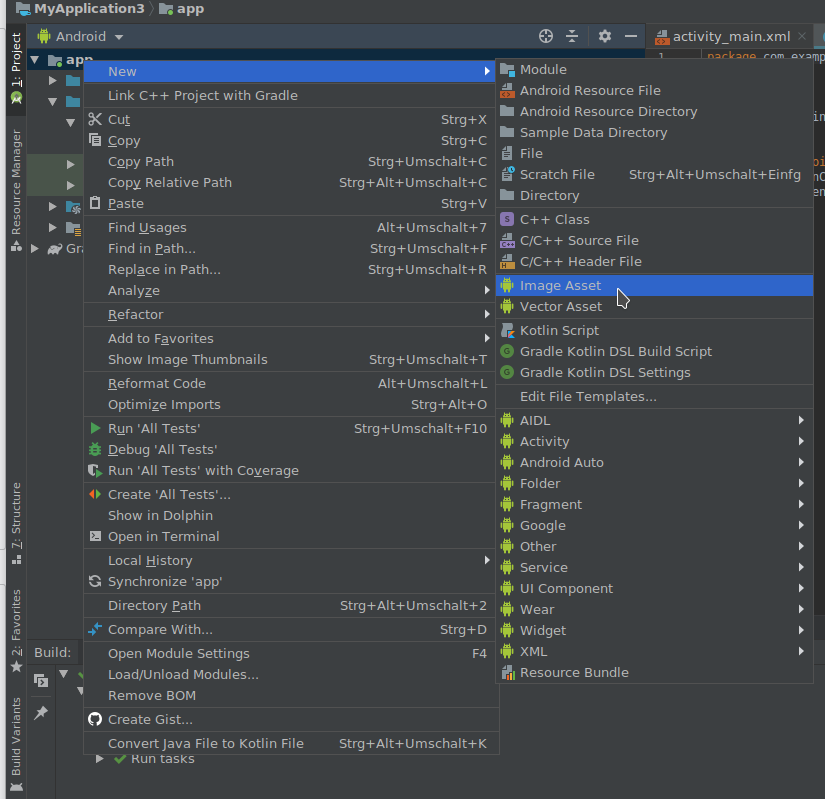
- Now you will see the Asset Studio with the default icon/setup:

- Rename the icon name to
appicon(can be anything) and in the source asset selectAsset Type: Imageand select your icon in thePathfield:

With the Scaling - Resize slider you can adjust the size of the foreground element.
- Now we will switch to the
Background Layertab and either set the plain color or load the background image:
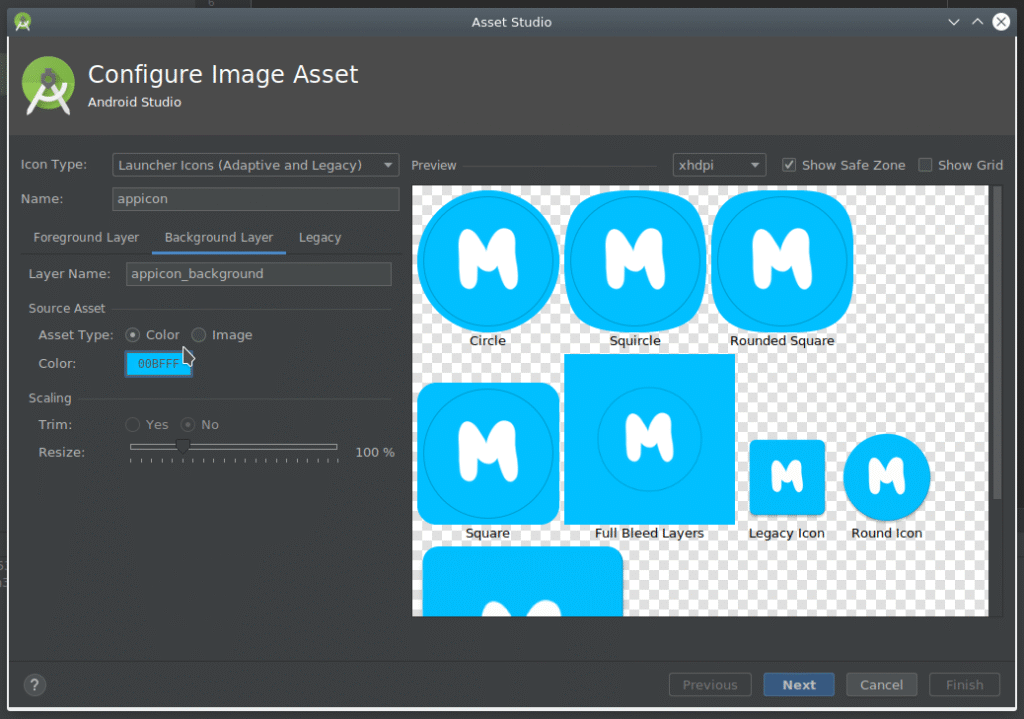
That's all! You can click next.
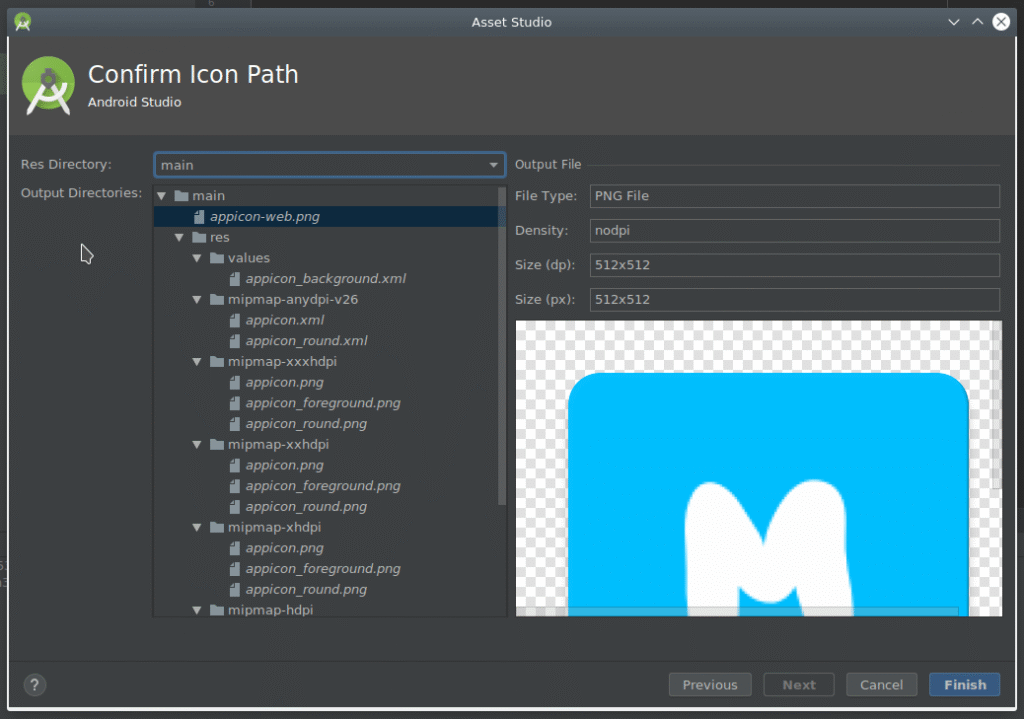
- In the last screen you will see all the files in the
resfolder that you will need to copy over to your Titanium project:
Titanium app
To use the Adaptive Icon in your Titanium app you have to add this to your tiapp.xml file:
<android xmlns:android="http://schemas.android.com/apk/res/android">
    <manifest xmlns:android="http://schemas.android.com/apk/res/android" android:versionCode="1">

        <application android:icon="@mipmap/appicon" android:roundIcon="@mipmap/appicon_round" />

    </manifest>
</android>
where appicon is the name you have put into the name box in step 4.
Now we can copy over all the files:
| Android Studio: [project-name]/app/src/main/res/ | Appcelerator Titanium: [app-name]/platform/android/res |
|---|---|
| /mipmap-anydpi-v26/appicon_round.xml | /mipmap-anydpi-v26/appicon_round.xml |
| /mipmap-anydpi-v26/appicon.xml | /mipmap-anydpi-v26/appicon.xml |
| /mipmap-hdpi/appicon_foreground.png | /mipmap-hdpi/appicon_foreground.png |
| /mipmap-hdpi/appicon_round.png | /mipmap-hdpi/appicon_round.png |
| /mipmap-hdpi/appicon.png | /mipmap-hdpi/appicon.png |
| same for all the other mipmap-* folders | same for all the other mipmap-* folders |
| /values/appicon_background.xml | /values/appicon_background.xml |
When you compile your app it will show the correct icon now:
