Ah, push it – Use Firebase push in your app
Project setup
We will start with an empty Alloy project.
ti create
# go into the folder
alloy new
Have a look at the last section of the first tutorial.
Requirements
- Firebase Core Module for Android / iOS (only needed for iOS)
- Firebase Cloud Messaging Module for Android / iOS
Firebase setup
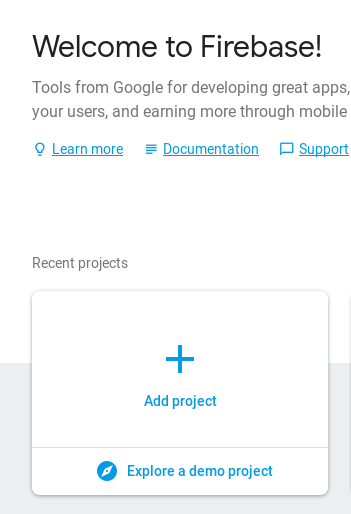
Go to https://console.firebase.google.com/ and create a project.
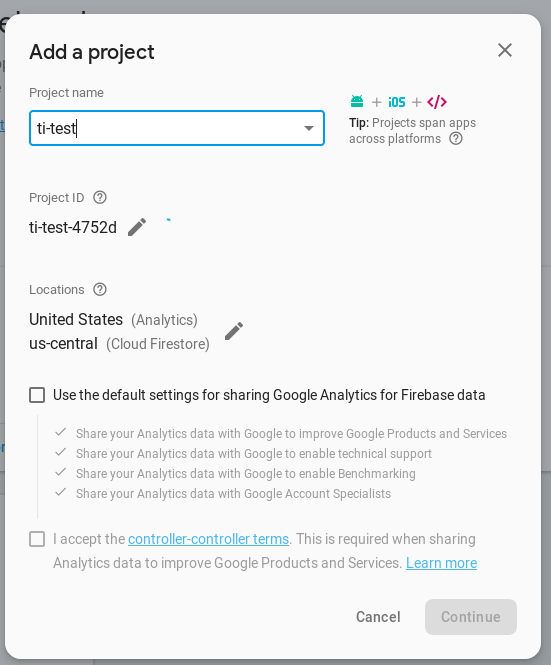
create a new project:
give it a name
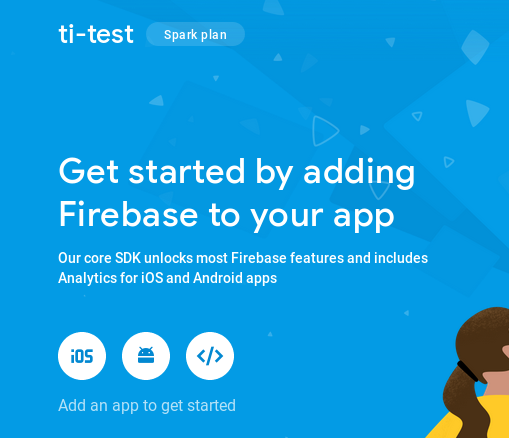
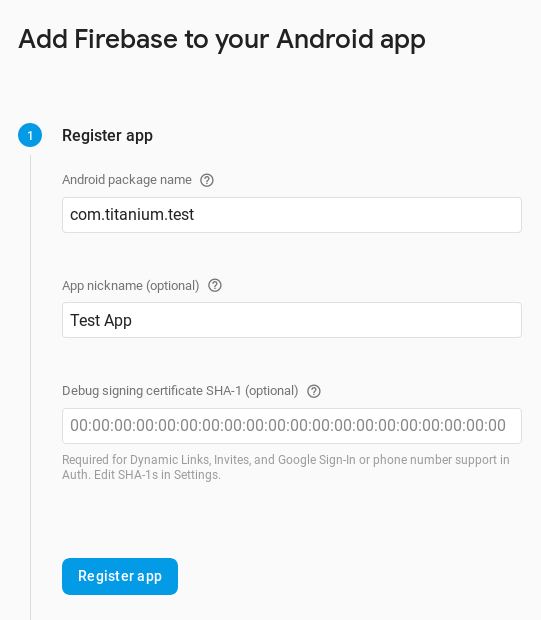
click on iOS / Android
add your package name:
download the config file
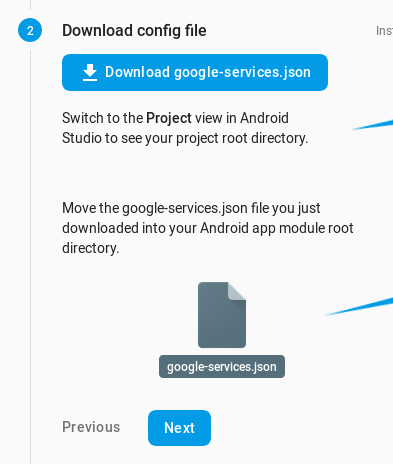
place it here:
iOS: place GoogleService-Info.plist into app/assets/iphone/
Android: place google-services.json into /app/platform/android/
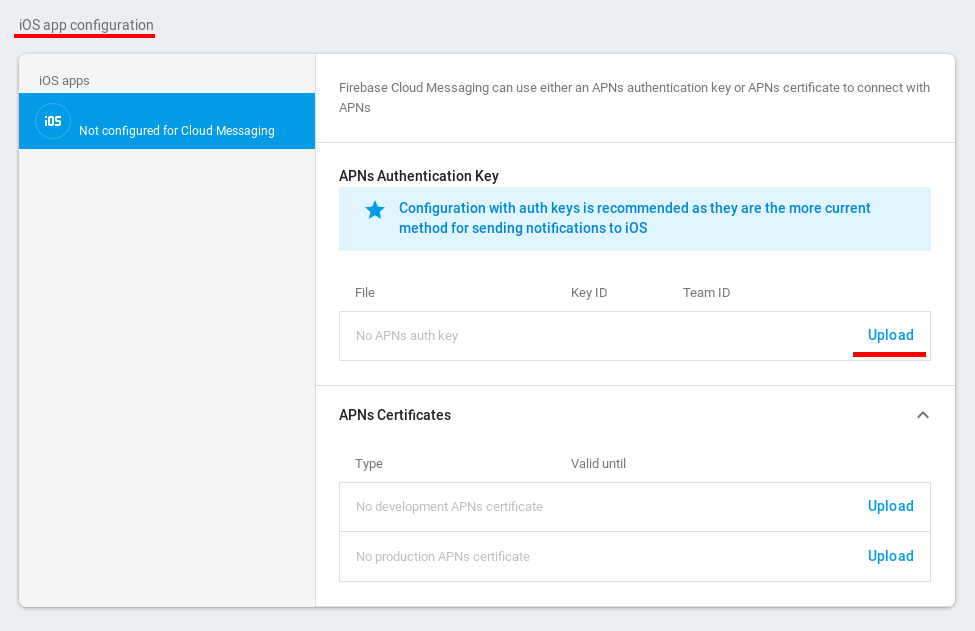
For iOS we need to upload a p8 file.
Go to the project settings - Cloud messaging:

Scroll down to the iOS app configurations and click upload (inside the APNs section)
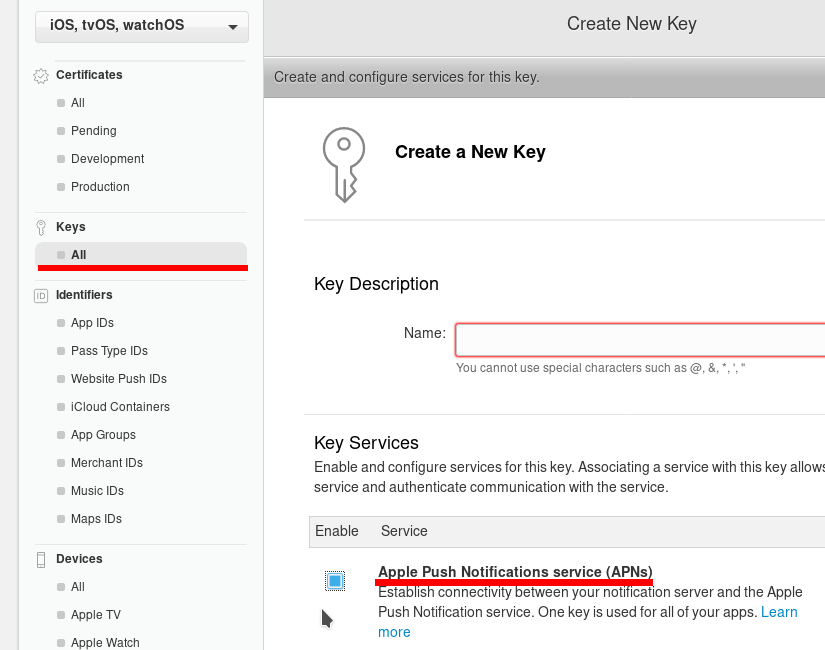
create a APNs file:
go to the Apple provisioning profile center and create a new "Key"
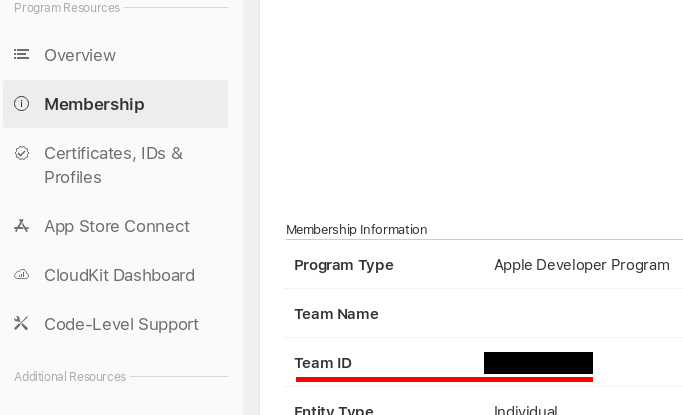
get the key id for later
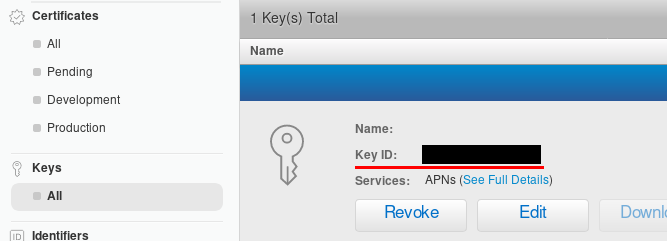
get the team id (link is inside the ? bubble of the upload form below)
download the file
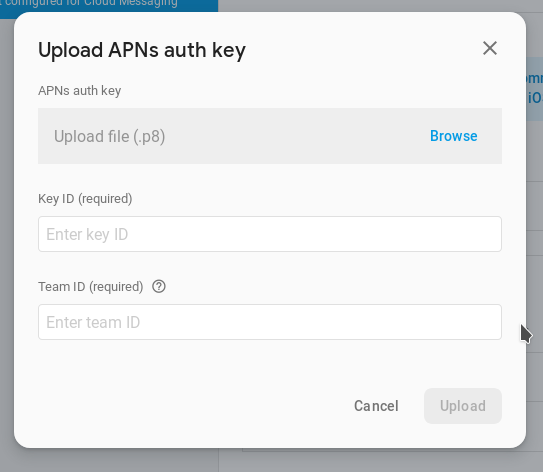
Add your p8 file and fill in the key and team id
XML setup
Download the modules and update your tiapp.xml:
<modules>
    <module platform="android">ti.playservices</module>
    <module platform="iphone">firebase.core</module>
    <module>firebase.cloudmessaging</module>
</modules>
Code setup
For iOS you will need to add the Firebase Core module and load the config file:
// Require the Firebase Core module
if (OS_IOS) {
    var FirebaseCore = require('firebase.core');
    FirebaseCore.configure();   // default google-services.json/GoogleService-Info.plist will be used
}
Android will use gradle to load the google-service.json automatically.
Then we add the Firebase Cloud Messaging module:
var fcm = require('firebase.cloudmessaging');
if (OS_IOS) {
    Ti.App.iOS.addEventListener('usernotificationsettings', function eventUserNotificationSettings() {
        // Remove the event again to prevent duplicate calls through the Firebase API
        Ti.App.iOS.removeEventListener('usernotificationsettings', eventUserNotificationSettings);

        // Register for push notifications
        Ti.Network.registerForPushNotifications({
            success: onToken,
            error: function() {},
            callback: onMessage
        });
    });

    // Register for the notification settings event
    Ti.App.iOS.registerUserNotificationSettings({
        types: [
            Ti.App.iOS.USER_NOTIFICATION_TYPE_ALERT,
            Ti.App.iOS.USER_NOTIFICATION_TYPE_SOUND,
            Ti.App.iOS.USER_NOTIFICATION_TYPE_BADGE
        ]
    });
} else {
    const channel = Ti.Android.NotificationManager.createNotificationChannel({
            id: 'default',
            name: 'Default channel',
            importance: Ti.Android.IMPORTANCE_DEFAULT,
            enableLights: true,
            enableVibration: true,
            showBadge: true
    });
    // if you use a custom id you have to set the same to the `channelId` in you php send script!
    fcm.notificationChannel = channel;
    // Register for Firebase Cloud Messaging
    fcm.registerForPushNotifications();
}

fcm.addEventListener("didRefreshRegistrationToken", onToken);
fcm.addEventListener("didReceiveMessage", onMessage);

function onToken(e) {
    // if needed: send it to your server
    if (OS_ANDROID) {
        alert("new Android token" + e.fcmToken);
    } else {
        alert("new iOS token" + fcm.fcmToken);
    }
}

function onMessage(e) {
    if (OS_ANDROID) {
      console.log("Got message: " + JSON.stringify(e.message));
      alert("Got message: " + JSON.stringify(e.message));
    } else {
      console.log("Got message: " + JSON.stringify(e.data));
      alert("Got message: " + JSON.stringify(e.data));
    }
}

console.log('FCM-Token: ' + fcm.fcmToken);
if (OS_ANDROID){
    console.log('last push data: ' + fcm.lastData);
}
Test it
HTTP v1 API using kreait/firebase-php
The server connection requires authentication using OAuth 2. An easy way to implement the new API is with the external PHP API called Firebase Admin PHP SDK (kreait/firebase-php). Follow these steps to install the project:
- go to https://console.firebase.google.com/
- select your project
- go to project settings
- go to "Cloud messaging"
- activate Firebase Cloud Messaging API (v1)
- go to "service accounts" (https://console.firebase.google.com/project/_/settings/serviceaccounts/adminsdk)
- click Generate New Private Key, then confirm by clicking Generate Key
- securely store the JSON file containing the key.
- run
composer require kreait/firebase-phpto install the PHP files
After that you can use this PHP snippet to send push notifications using the HTTP v1 API:
require __DIR__.'/vendor/autoload.php';
use Kreait\Firebase\Factory;
use Kreait\Firebase\Contract\Messaging;
use Kreait\Firebase\Messaging\CloudMessage;
use Kreait\Firebase\Messaging\Notification;

$factory = (new Factory)->withServiceAccount('your_json_file.json');
$messaging = $factory->createMessaging();
$message = CloudMessage::withTarget('token', $token)
    ->withNotification(Notification::create('Title', 'Body'))
    ->withData(['key' => 'value']);

$messaging->send($message);
Notification types
On Android there are two different messages that the phone can process: Notification messages and Data messages. A notification message is processed by the system, the data message is handled by showNotification() in TiFirebaseMessagingService. A 'data message' has more features like an image or custom fields. To use it add a data field to your payload.
PHP example:
$fields = array (
    'to' => "DEVICE_TOKEN",
    'data' => array(
        "test1" => "value1",
        "test2" => "value2",
        "title" => "title",
        "message" => "message",
        "big_text"=>"big text even more text big text even more text big text even more text big text even more text",
        "big_text_summary"=>"big_text_summary",
        //"icon" => "http://via.placeholder.com/150x150",
        //"image" => "http://via.placeholder.com/350x150",  // won't show the big_text
        "force_show_in_foreground"=> true,
        "color" => "#ff6600",
        "vibrate" => true,
        "channelId" => "default"    // or a different channel
    )
);
Advanced topics
Android: custom sound
You can place a mp3 file in /platform/android/res/raw/ in order to play it when the push arrives. To play that sound you need to set it in the notification channel and inside the data part of the push message:
e.g. for sound.mp3:
fcm.createNotificationChannel({
        sound: 'sound'
});
$fields = [
'to' => 'DEVICE_TOKEN',
'data' => [
'key1' => 'value1',
'key2' => 'value2'
'sound' => 'sound.mp3'
]
];